


The WordPress full site editor (FSE) gives web designers the fantastic ability to customize the font, colors, spacing, and other visual elements of a theme without writing any code.
However, block spacing in particular has been a challenge for me and other folks online using the Twenty Twenty-Three theme. Some spacing challenges I have solved using the style editor, and others I have resorted to CSS to achieve the desired outcome.
This article will cover how to use both approaches in the full site editor. The information is for a semi-technical audience—if you have ever used a browser inspector tool, you are in good shape to continue reading.
If you need a little more assistance, consider our site touchup service to update your website’s visual design to the latest standards.
Table of Contents
Jan ’25 Update
While the solution provided in this post still works, I have since learned two things:
- Some templates include a global “Additional CSS” field in the Styles tab.
- It is possible to use a negative margin to eliminate unwanted space in a single location without changing the block spacing everywhere.
Additional CSS in the Styles Tab
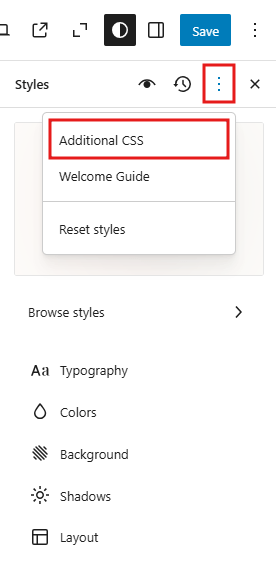
As far as I can tell, all block themes now include a global Additional CSS field in the global Styles tab.
It is hidden under the three dot menu (which apparently is called a kebab menu—did you know that?), but it’s definitely there.
This replaces the classic editor field found under Appearance > Customize, and this seems like a valid option to adding global CSS to your site.
In Step 3 below, I advise against using a “backdoor method” to access the Additional CSS field. I still believe this advice is sound; however, if your theme has a built-in means of adding global CSS, I see no reason not to use it.
Negative Margins
Instead of setting the the global Block Spacing = 0 as I do in Step 1 below, you can simply use negative margins to eliminate the unwanted space.
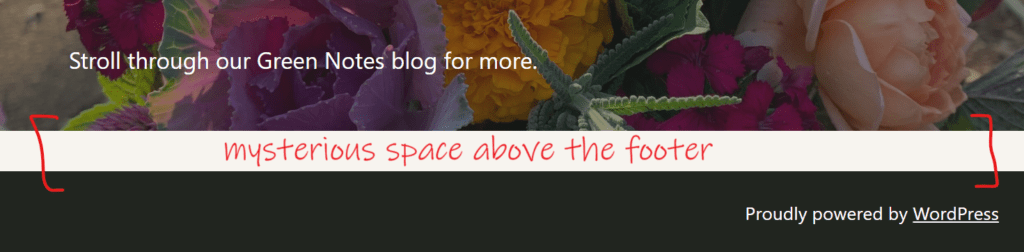
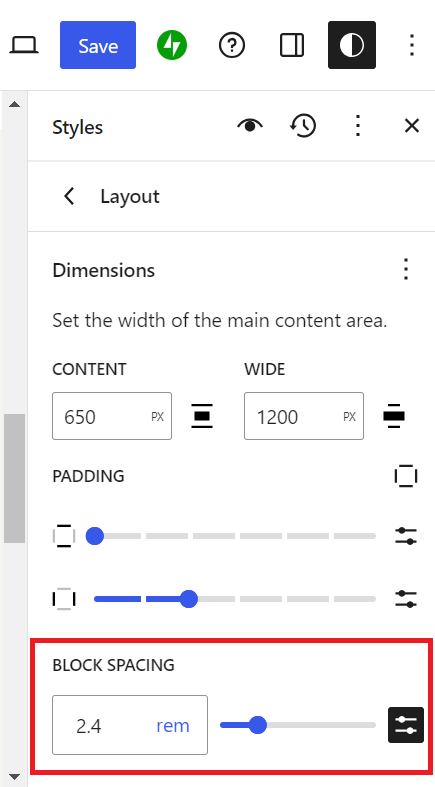
In my example, the global Block Spacing was set to 2.4 rem, which introduced an unwanted space above the footer.
On the block above the footer, I could set the lower margin to -2.4 rem, which would eliminate the unwanted space and avoid the need for Steps 1-3 in this article.
The disadvantage of using negative margins is if the blocks change out frequently and require setting the margin each time.
Spacing Issues in the Footer, Blocks, and Forms
In the Twenty Twenty-Three theme, I had three main spacing issues:
- There was a mysterious blank space above the footer that I could not remove with the block editor.
- Fixing the footer space introduced problems everywhere else.
- Spacing in forms could not be resolved in the same way as all other blocks.
In the following sections I will describe the steps I took to remove the unwanted footer space and fix all the introduced problems.
Step 1. Use Site Layout to Change Global Block Spacing
Using a combination of the browser inspector and online forums, I concluded that the space above the footer was due to a default theme setting that added space between all blocks.
To remove the space, I followed the path Appearance > Editor > Styles > Edit Styles > Styles > Layout.
The Block Spacing field was the problem. I set the value to 0, and the unwanted space above the footer went away. Success! Sort of…
Unfortunately, this setting controlled the block spacing for the entire site. That meant all spaces between all blocks went away, and the site looked pretty strange.
By solving one problem, I had introduced a dozen more.
Step 2. Set Global Styles for Specific Blocks

Above is an example of a block that looked strange with no spacing. The site was filled with awkward looking elements that were all crammed together.
I knew I could edit the page (or template) and adjust spacing for that individual block in that location. But I didn’t want to adjust every single block in every single page—that would take forever.
Instead, I used the Styles tab to set global styles for the blocks that I wanted to have space.
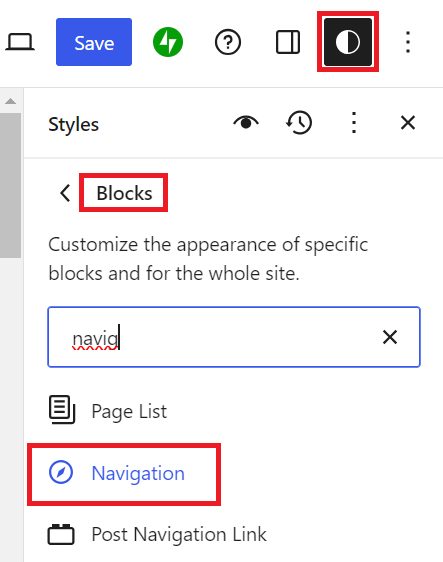
I went to Appearance > Editor > Styles > Edit Styles > Styles > Blocks and searched for the Navigation block (Step 2a).
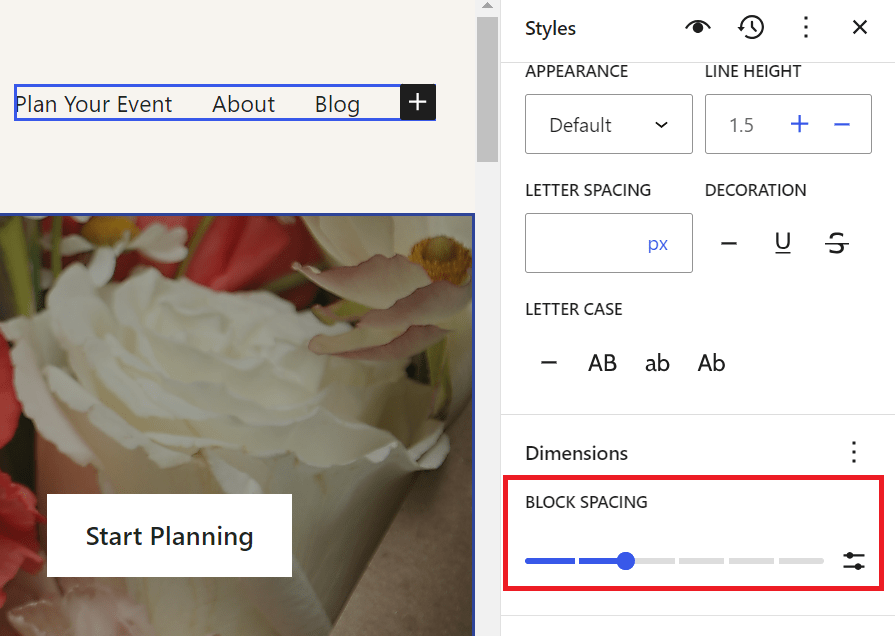
I then adjusted the Block Spacing setting for the Navigation block (Step 2b).
This added the amount of space I wanted everywhere in the site that the Navigation block was used.
I then repeated this step for the major blocks that I wanted to have default spacing (including padding and margins), such as Header, Paragraph, Columns, and Group blocks. This allowed me to give each type of block the specific amount of spacing that I prefer.
Spacing Limitation in Jetpack Forms
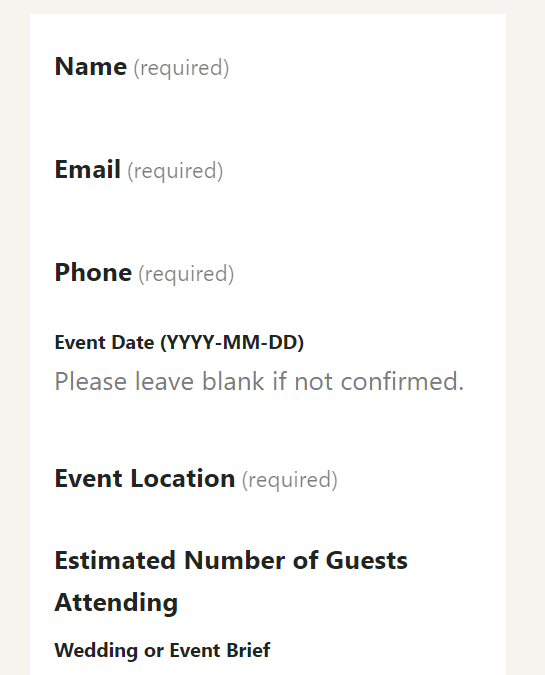
The above steps to give blocks a default spacing in the Styles tab worked for all blocks except one: Forms.
The client was using Jetpack forms, and I could not find a setting anywhere to change the spacing between fields.
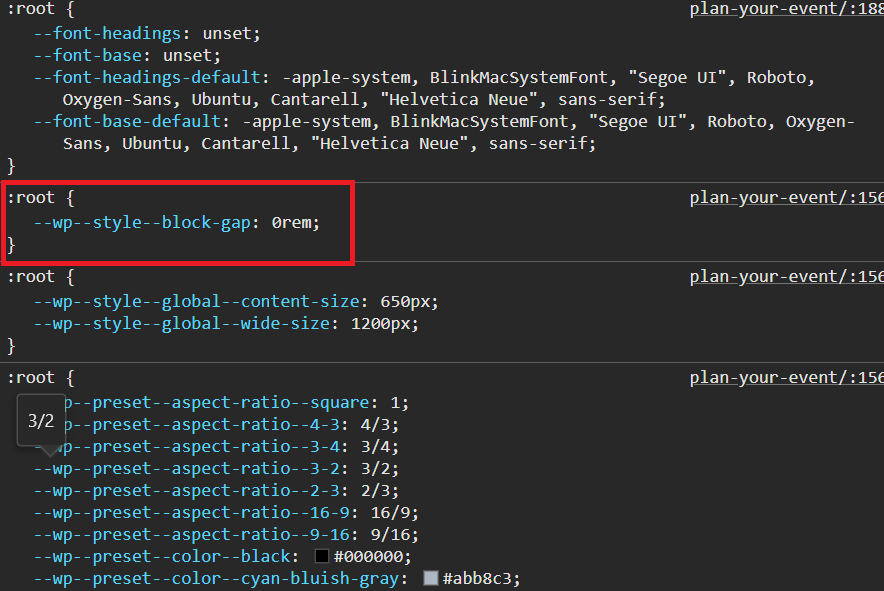
Using the browser inspector, I confirmed my suspicion that the form field spacing was inherited from the global Block Spacing setting in the Layout menu. I had set this to 0 in Step 1, so naturally the form fields had no space between them.
The only way I found to override this setting is through CSS, which I added through the full site editor.
Step 3. Add CSS in the Full Site Editor
Don’t Use the ‘Customize’ Screen
In the old WordPress editor, you could add custom CSS from the path Appearance > Customize and editing a field called Additional CSS.
The full site editor has completely removed the Customize screen from the UI navigation, but you can still access it through a sort of backdoor. You will see advice online to reach the screen via [your website url]/wp-admin/customize.php.
Don’t do this! For two reasons:
- It might disappear. The WordPress team removed this screen from the navigation for a reason. We cannot assume that this “backdoor” route will remain available indefinitely.
- It isn’t necessary. The full site editor has a built-in means of inserting CSS without using the old Customize screen. Which leads us to…
Do Add CSS in the Styles Tab
You can add CSS to apply globally to a block type, just like we added global per-block spacing in Step 2 above.
Return to Appearance > Editor > Styles > Edit Styles > Styles > Blocks, and locate the Forms block.
Expand the Advanced tab. In the field Additional CSS, add the following:
{
    --wp--style--block-gap: 1.5rem;
}
Replace 1.5rem with whatever spacing you desire. You should see the page preview update with the new spacing.
Note that in this field you do not need to include the CSS selector. Even though in the Inspect tool I saw that the spacing applied to the :root element, it was not necessary to include this in my CSS. (Not only is it not necessary—it actually will not work if a selector is included.)

Conclusion
I was able to solve my spacing issues and insert CSS using built-in full site editor features. It was way simpler than some of the solutions I read online, and WordPress keeps releasing updates that make it even easier.
So far I have only had these issues with the Twenty Twenty-Three theme. I have worked with other themes that have a global block spacing defined and yet do not insert undesired blank spaces. This might be a bug with the theme, and could be sufficient reason to avoid this particular theme if you don’t want to spend the time adjusting it.
If you’re having trouble with spacing or any other layout issues in your website, get in touch to find out how Fishers of Folk can revitalize the online presence of your organization.